
Oversized images: the mistake that slows mobile stores
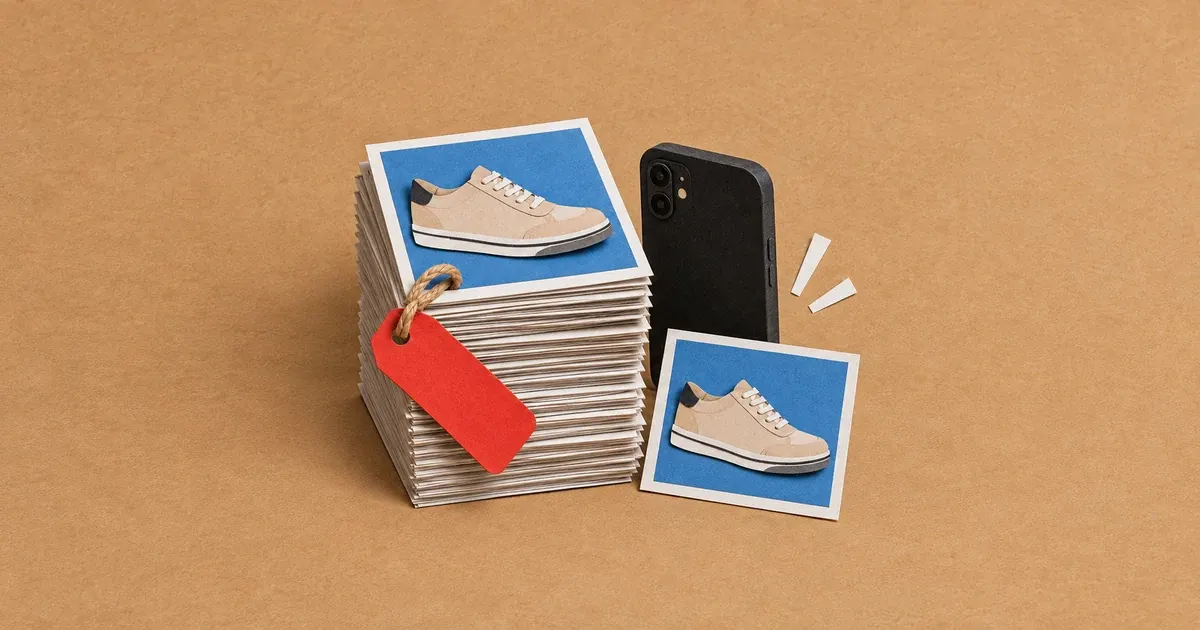
Photo: Avila Ops Tecnologia
An oversized image is a photo uploaded exactly as it came from the camera: 4,000 pixels wide and 3 MB to 6 MB, displayed on a 400-pixel phone screen. Each is like downloading a short film to see a stamp. A page with ten photos exceeds 30 MB, takes more than 10 seconds on mobile networks, and customers leave. It is the most common mistake and the easiest to correct.
On Black Friday, traffic comes from mobile ads, and every extra second is a paid click that does not become a sale. Correcting 200 photos takes an afternoon with the right tool; campaign day is too late.
What is the right product photo size?
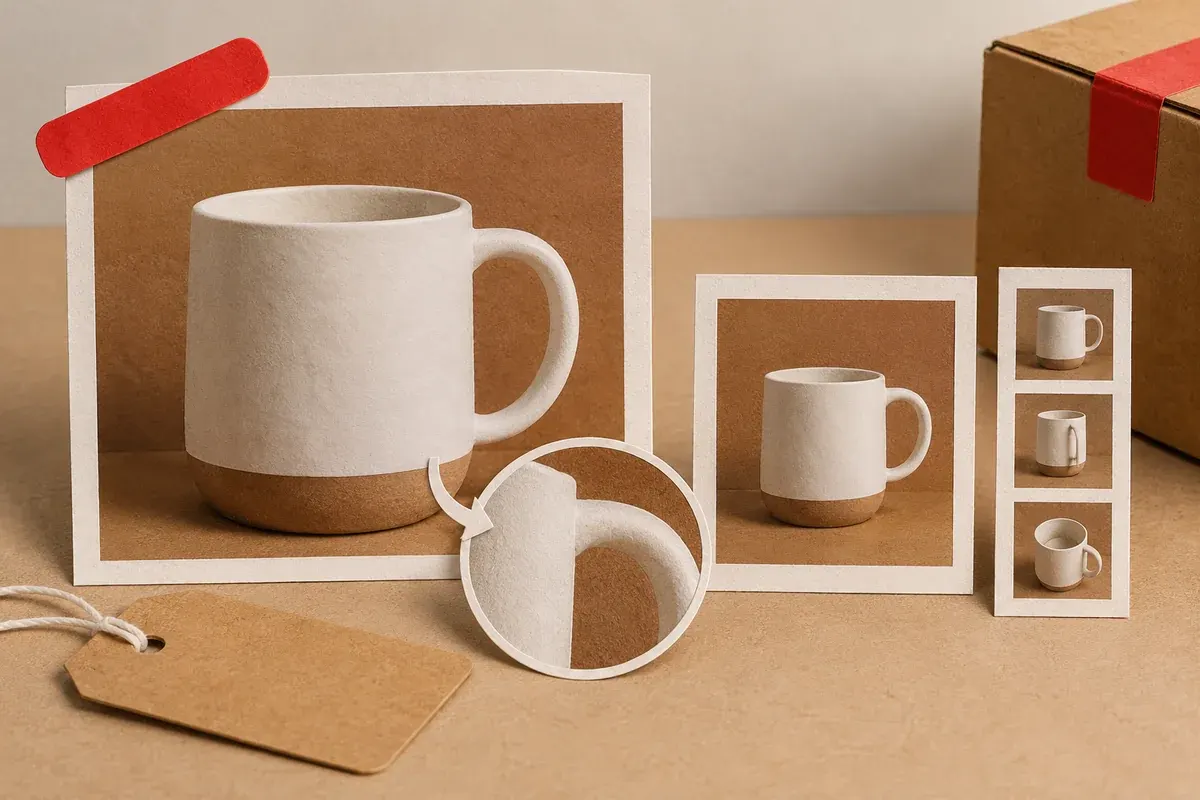
Photo: Avila Ops Tecnologia
Use 1,200 to 1,600 pixels wide for main photos that need zoom. Use 600 to 800 pixels for thumbnails and listings. Keep main files below 200 KB and thumbnails below 80 KB. WebP is generally 25% to 35% smaller than JPG at the same quality and supported by current browsers; JPG is second choice. PNG is only for transparent logos and icons, never photographs.
| Use | Width | Maximum size | Format |
|---|---|---|---|
| Main product photo | 1,200 to 1,600 px | 200 KB | WebP or JPG |
| Thumbnail and listing | 600 to 800 px | 80 KB | WebP or JPG |
| Homepage banner | 1,600 to 1,920 px | 300 KB | WebP or JPG |
| Logo and icon | Actual display size | 30 KB | SVG or PNG |
How do you fix existing store photos?
First, determine the problem’s size: download three store product photos and check file sizes. If they exceed 500 KB, probably all do. Then choose your approach.
- If the platform has automatic image optimization, enable it and confirm WebP conversion and resizing. Many offer it switched off.
- Otherwise, use a batch compression app or website: upload originals, choose width and quality, and receive converted files.
- Replace old photos with converted versions, starting with campaign products.
- Keep originals in a separate folder for printing and social media.
- Set a future rule: no store photo over 200 KB.
A jewelry store has 180 products with four 3 MB original photos each, making a product page 12 MB. Batch conversion to 1,400-pixel WebP reduces it to 700 KB and mobile loading from 9 seconds to under 2. No photo loses visible screen quality.
What about new photos?
Shooting at high resolution remains right; uploading originals is the mistake. Make resizing before uploading a habit.
Name files after products, such as “vela-lavanda-200g.webp,” rather than “IMG_4821.jpg.” Google reads filenames, and alternative text should describe the product.
Product video follows the same logic: never host it on the website itself. Upload to YouTube or a dedicated video service and embed the link. The slow page guide covers other sources of weight, and testing before peak traffic shows how to measure results.
What to do now
Download three product photos and check their sizes. If they exceed 500 KB, start converting campaign products today. With Avila Ops E-Commerce Pro, we register products with correctly sized photos, and the store launches in one day: avilaops.com/loja-virtual or contact us on WhatsApp: wa.me/5517997811471.
Frequently asked questions
What is the ideal image size for an online store?
Main photos: 1,200 to 1,600 pixels wide and below 200 KB. Thumbnails: 600 to 800 pixels and below 80 KB. WebP or JPG format.
Does reducing a photo lose quality?
Not on screen if width stays above display size. A 1,400-pixel photo on a 400-pixel phone screen leaves room for zoom. Loss only appears in large prints.
Does WebP work on every phone?
Yes. All current Android and iPhone browsers display WebP. Platforms offering automatic conversion generally still deliver JPG to very old browsers.
Connections, made clear
From order to delivery, with every step in view.
An example of connecting E-Commerce with your team’s day-to-day work.
- OrderThe customer chooses items and places an order.
- ValidationCheck the details and product availability.
- ManagementSend the validated order to ERP.
- FulfillmentThe team prepares and dispatches the items.
- CustomerKeep the customer informed about next steps.
- Order. The customer chooses items and places an order.
- Validation. Check the details and product availability.
- Management. Send the validated order to ERP.
- Fulfillment. The team prepares and dispatches the items.
- Customer. Keep the customer informed about next steps.
Order
The customer chooses items and places an order.
Turn what you learned into your next step.
Tell us about your company and what you want to improve. We can explore the right tools, integrations or custom project together.